A Relaxed Modern Fireplace Build
This post contains sponsored content. All opinions remain my own.
What do you do with a big empty wall that leaves a space feeling sparse?
When I first approached Brian with the idea of adding a fireplace on this wall he couldn’t disagree more. After talking more about the project and showing a few sketches of what I had in mind, Brian was on board and we got to work.

The first thing we did was make a decision on the scale of the build. Our goal was to cozy up the space and we needed the fireplace to take up a substantial section of this wall if we wanted to accomplish that. Once we figured out the relative size we needed to find the perfect insert. We wanted something modern with clean lines but also wanted to make sure it had a heating element that could warm up the living room when used. The Touchstone Home Products Sideline Elite 42” electric inserts checked off all of the boxes on our list and we partnered with them on the install. Once the insert was delivered it was go time.
Starting with a rough frame that was anchored along the back wall, we built a box out from the rear wall that went floor to ceiling. At this time we also started the supports for our floating hearth adding a couple of additional braces for support along the back wall and sides of the fireplace. Once the initial frame was built we dry fit the fireplace insert and added the last remaining supports. These were what would hold the electric insert in place. Next up was running some additional electrical to the space. One of the things that drew us to the Touchstone Elite insert was the option to hardwire or plug-in, and we opted for the plug-in install. We already had an existing outlet in place and wanted an additional one to accommodate the components we would be running day to day.


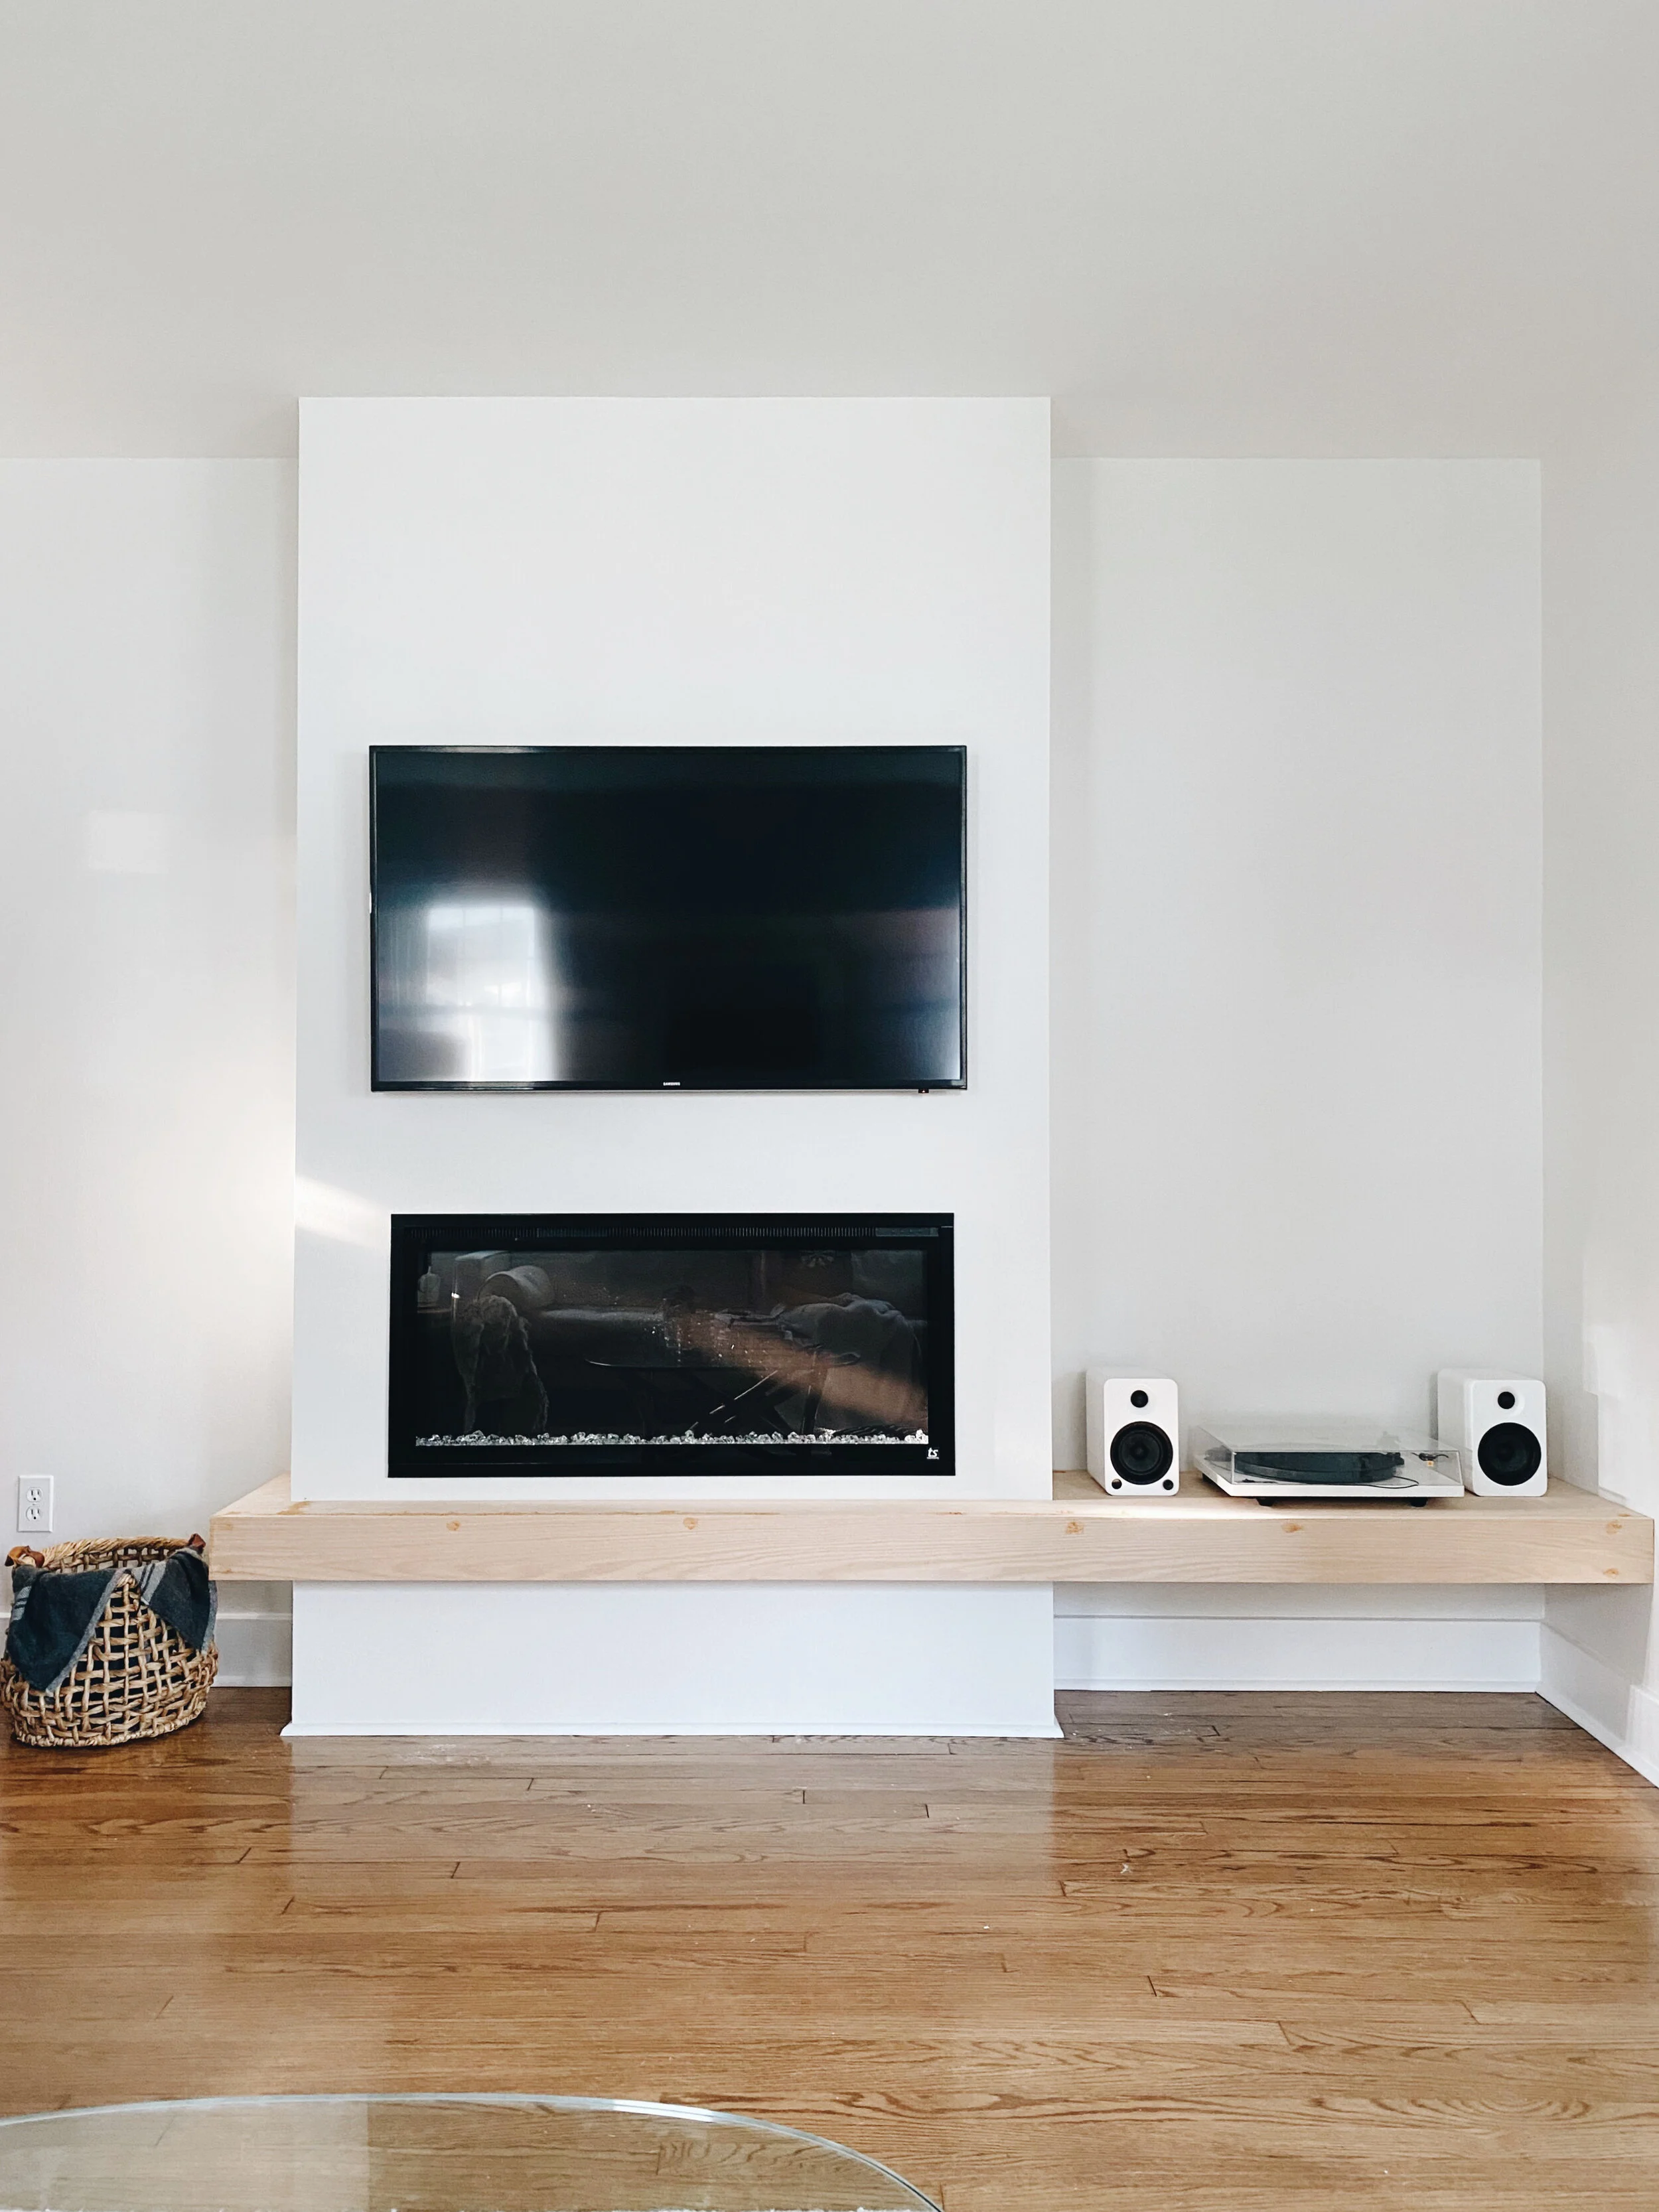
The fireplace took shape pretty quickly once the drywall went up. In this stage we decided on tv placement and added a few additional 2x4s to the cut-out to anchor and support the weight of our tv. While I heavily debated adding a new Samsung frame tv to the space we stuck with our current tv and opted to sink the mount to create the flush look that the Samsung Frame TV boasts. We cleaned up the dust, primed and painted, and started to see the light at the end of the tunnel.


The next big step was deciding on how to finish the floating hearth. This process was not documented well as it was filled with a lot of measuring, cuts, math, more measuring and more cuts. I am sure there was an easier/better way of building it but this was not that. We decided on oak plywood for the top and solid oak for the face. After a laborious two days we finally had a hearth.
We used the remaining oak plywood for the tops and bottoms of our built-in shelving, and solid oak for the face. Building a brace along the walls and fireplace side and adding the 3/4” oak plywood to both the tops and bottoms of the shelves we were able to create the look of a thicker solid wood shelf.


Even after years of home renovation and DIY I still can’t believe how much one project can change a space. The addition of the fireplace is everything we had hoped it would be and really cozied up our living room.


